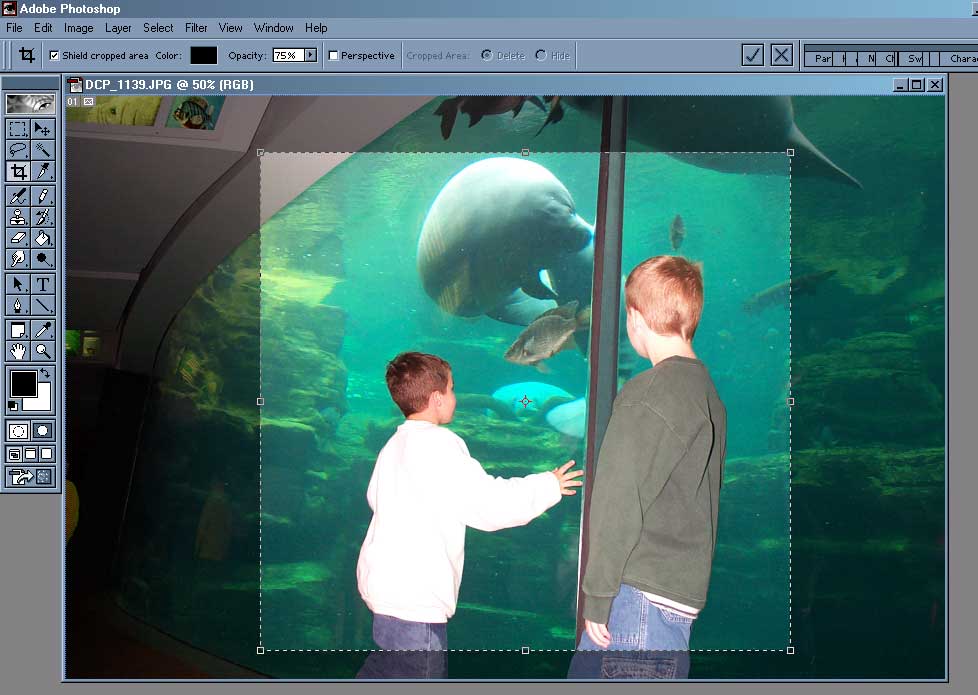
Correcting Color Levels:
Photographs scanned into the computer or taken with a digital camera are rarely
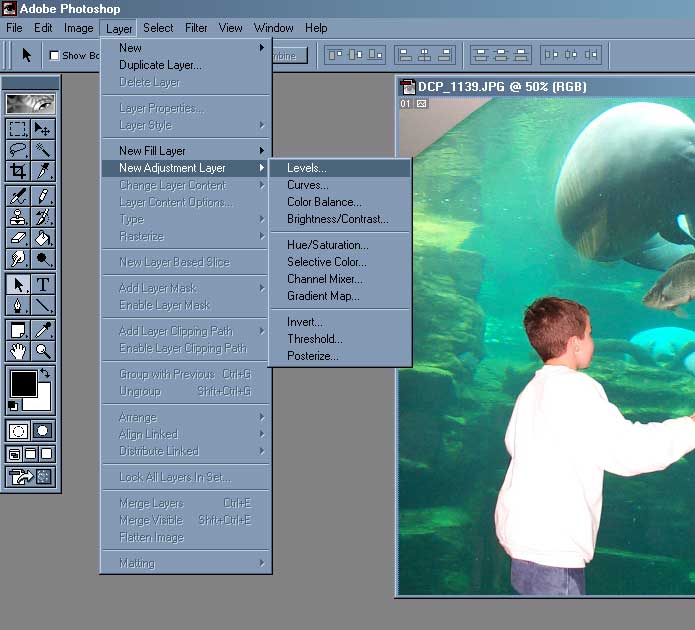
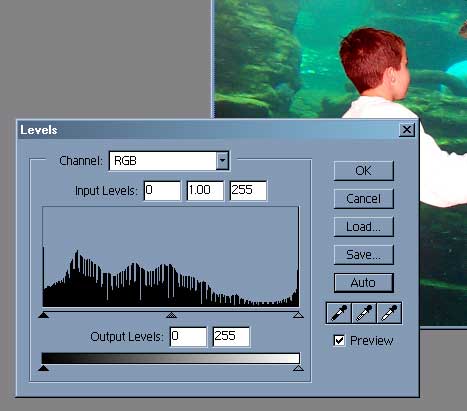
exposed perfectly. Try to adjust levels automatically by choosing LAYER - NEW
ADJUSTMENT LAYER - LEVELS. Click on AUTO.
If the photo looks worse, cancel or choose EDIT - UNDO.
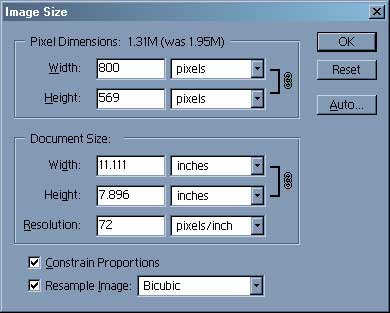
Reduce Image Size:
Choose IMAGE - IMAGE SIZE. To select an image for emailing, select a width of 800 or less to accomodate people with low monitor resolution and to reduce file size. For Printing, pay attention to document size.
Reducing File Size for Emailing:
Select FILE - SAVE FOR WEB.
Chose 4-Up to see alternative resolutions and sizes.
Set the setting at JPEG, Medium. You want JPEG (instead of GIF)
because this is a photo and it has more than 16 colors. You want
Medium to reduce the file size without sacrificing quality. If you want
to make the file smaller, see how it looks set at Low or by reducing the
Quality setting. Notice that the photo in the upper right-hand corner
shows the image with that selection and is selected (border is dark).
Select OK. Name it and pay attention to where you save it.

Adding Styles:
Choose FILTER - and then select a style. Here are some examples.